I’ve decided to start a new series of posts for the remainder of April. I’m calling it the “Good Food, Bad Pictures” series or GFBP. This could also be known as “I’m not a photographer and only use my cell phone to share my culinary adventures with you and I’m in a hurry and very hungry so these are the pictures you get.” But that seemed like a mouthful so GFBP it is. First up: Duck!
I was never a fan of duck. I think mainly because I had never tried it. I had heard it described as greasy, fatty and gamey. Not appetizing. A few years ago my husband ordered duck for dinner at Vin de Set, a French restaurant here in St. Louis. I took my first bite of duck. It was amazing! To this day the best bite of duck I think I have ever had… and that is saying something. Since then, I have been a little more adventurous. I made a whole duck following my idol Ina’s recipe. It was fabulous but a lot of work. I have since moved on to duck breast, so very simple to prepare and delicious to eat.
One night, I asked my husband to pick up some duck breasts from the local butcher on his way home from work. I warned him that duck is expensive but I forgot to mention there is more than one type of duck breast. Well, that wonderful husband of mine came home with the cream of the crop, Moulard Duck Breasts. Actually, he came home with both types because he wasn’t sure what I wanted. The package on the right holds two duck breasts and is what I bought the first time around. The package on the left is one giant $25 duck breast!
Anyway, they come frozen so I didn’t make them until the next day. Husband had to work late so first I made dinner for the kiddos. They got the smaller ones. I saved the good one for us. The process for either is the same.
First, rinse and dry the duck.


Then, score the fat in a criss-cross pattern. You want to cut through most of the fat but you do not want to cut the flesh. Season with a little salt and pepper.
Put the duck, fat side down in a cold pan then turn the heat to medium.
You want to render the fat out of the duck breast. Remember this:
Duck Fat = Liquid Gold
So, let the duck cook fat side down in the pan. Occasionally tilt the pan and spoon the fat into something; I like to use a mason jar.
Save all the fat you can for future use (tip: the perfect use is for duck fat fried potatoes). You can store the duck fat it in the fridge… I think for forever.
Continue to render the fat until it is golden brown, about 10 minutes.
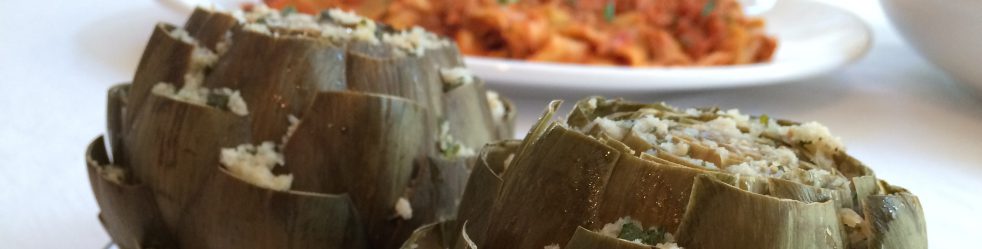
When golden, remove the duck from the pan and place it, fat-side up, on a foil lined baking sheet.  Put it in the oven and roast for about 10 minutes or until the internal temperature is 130. Let it rest, slice and serve. Delicious!!!


My picky eater will eat this and my good eater LOVES it.


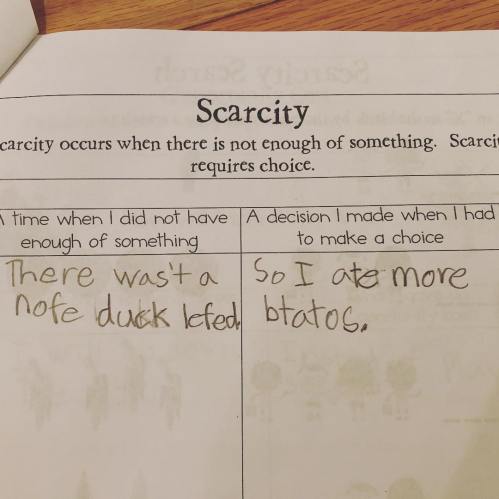
She will request it for dinner and even used it as an example in school when learning about economics (what the teachers must think of me, who knows).
Anyway, I did the same thing with the primo duck breast for my husband and I. I cooked it a bit longer because it was much bigger but the process was the exact same.


All the duck was delicious but I could tell this one was better quality. And it better be for the price we paid. Sorry the pictures aren’t spectacular, especially of the finished product but I was really hungry so I snapped a couple shots and then dug in.


And just look at all the liquid gold I ended up with!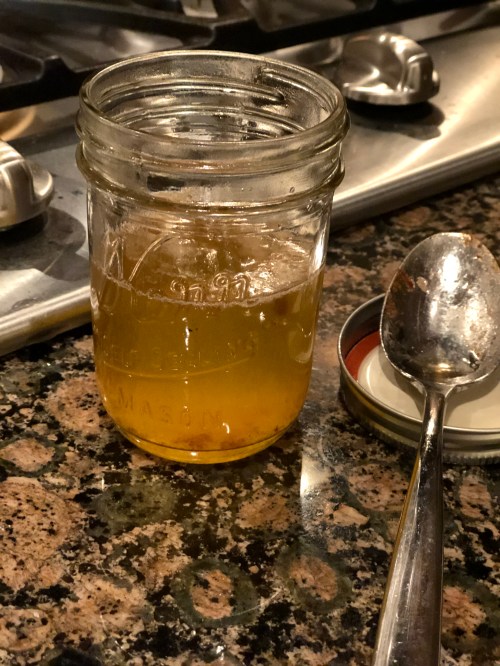
If you ever want to look like a culinary genius without the effort often required, make duck breasts.
Duck Breasts
Ingredients:
Duck Breasts
Salt
Pepper
Preheat the oven to 400 degrees
Rinse the duck breasts and pat dry with a paper towel.
Using a sharp knife, score a criss-cross pattern into the duck fat (making sure not to cut the flesh).
Season the duck with salt and pepper.
Place duck breast, fat side down in a cold pan.
Turn the heat to medium and let the duck fat render out.
Occasionally tilt the pan to the side and spoon off the duck fat (save the duck fat in a sealable jar).
Continue to render for about 10 minutes or until the duck is golden brown.
Place the duck breast on a foil-lined baking sheet, fat side up.
Roast the duck in the oven until the internal temperature reaches 130 degrees, about 10 minutes.
Remove from the pan and tent with foil; let rest for 10-15 minutes (internal temp will reach 145).
Slice and serve warm.
Duck Breasts

Seems fancy but is really very easy to make!
- 2 Duck Breasts
- Salt
- Pepper
- Preheat the oven to 400 degrees
-
Rinse the duck breasts and pat dry with a paper towel. Using a sharp knife, score a criss-cross pattern into the duck fat (making sure not to cut the flesh). Season the duck with salt and pepper. Place duck breast, fat side down in a cold pan. Turn the heat to medium and let the duck fat render out. Occasionally tilt the pan to the side and spoon off the duck fat (save the duck fat in a sealable jar). Continue to render for about 10 minutes or until the duck is golden brown.
-
Place the duck breast on a foil-lined baking sheet, fat side up. Roast the duck in the oven until the internal temperature reaches 130 degrees, about 10 minutes. Remove from the pan and tent with foil; let rest for 10-15 minutes (internal temp will reach 145).
- Slice and serve warm.

I love duck and will try yours at your house!
LikeLike